
![]()
Last Updated on March 26, 2022 by Anne-Marie
This cake mix whoopie pies recipe is fun to bake. You can easily make this whoopie pie recipe with cake mix gluten-free and dairy-free.
Why this recipe works
This cake mix whoopie pies recipe is a delicious treat. It’s also perfect for bake sales and birthday parties.
No need to mess with parchment paper to line cookie sheets while you carefully pipe out the batter with a pastry bag.
It’s super easy to make because these gluten free cake mix whoopie pies are made in a non-stick whoopie pie pan.
This easy recipe also includes how to create a whoopie pie filling that’s gluten free, dairy free, and delicious!
What's a whoopie pie?
Believe it or not, before I made these I was under the impression whoopie pies were like a Moon Pie. NOPE!
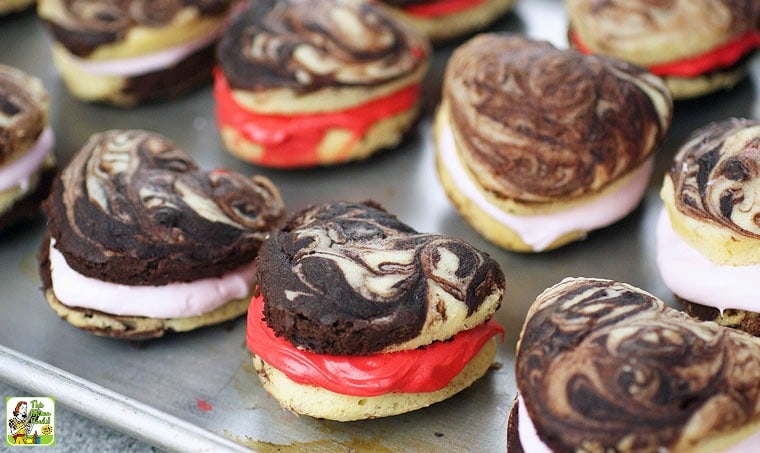
Whoopie pies are basically a cupcake-like sandwich cookie with a gooey layer of marshmallow cream in the middle.
Most people believe the classic whoopie pie is a chocolate whoopie pie. But you can also make different flavors like vanilla, pumpkin, gingerbread, peanut butter, or red velvet whoopie pies.
The origin of the whoopie pie is thought to be a New England phenomenon, starting in Maine, Massachusetts, or New Hampshire. However, whoopie pies could have originated in Pennsylvania, too.
According to Wikipedia:
Labadie's bakery in Lewiston, Maine has been making the confection since 1925.
The now-defunct Berwick Cake Company of Roxbury, Massachusetts was selling “Whoopee Pies” as early as the 1920s, but officially branded the Whoopee Pie in 1928 to great success.
Various claims suggest that the whoopie pie originated in Massachusetts and spread both north and south, or that German immigrants in Pennsylvania brought the predecessor of the Whoopie Pie to communities throughout the northeast.
What’s Cooking in America says that whoopie pies were an Amish dessert featured in a 1930s cookbook called Yummy Book by the Durkee Mower Company, the manufacturer of Marshmallow Fluff.
Naturally, the whoopie pie recipe used Marshmallow Fluff in the filling!

Making gluten free cake mix whoopie pies
I wanted to create a gluten free whoopie pie recipe, so I researched making gluten free cupcakes from scratch.
It's so much work to bake gluten free from scratch. You have to buy specialty flours and binders like guar gum. I don't have the patience for it.
There was the matter of making a homemade frosting that's dairy free and gluten free, too.
So I decided to make these soft cake-like cookies using gluten free Betty Crocker cake mix. Super easy plus guaranteed results every time.
For the whoopie pie filing, gluten free and dairy free Betty Crocker frostings mixed with Marshmallow Fluff would be so much easier, too.
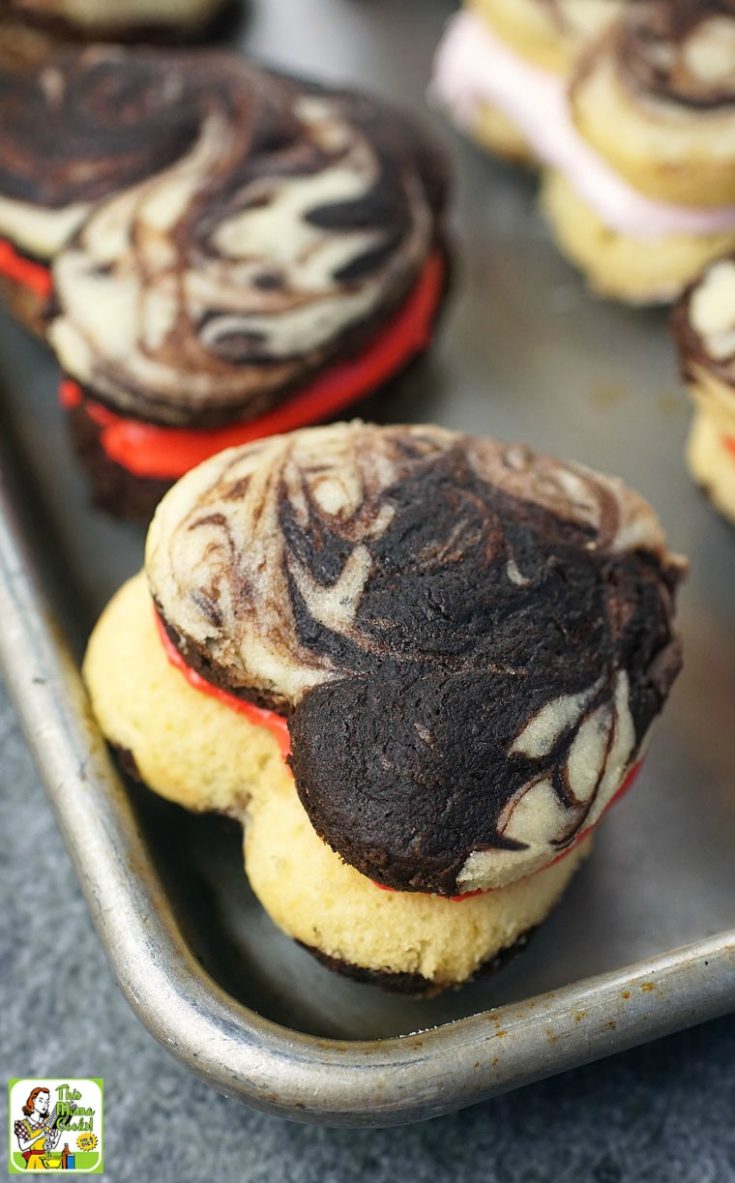
For these fun desserts, I decided to swirl the yellow and chocolate gluten free cake mix together for a cool effect.
Special equipment needed to make whoopie pies
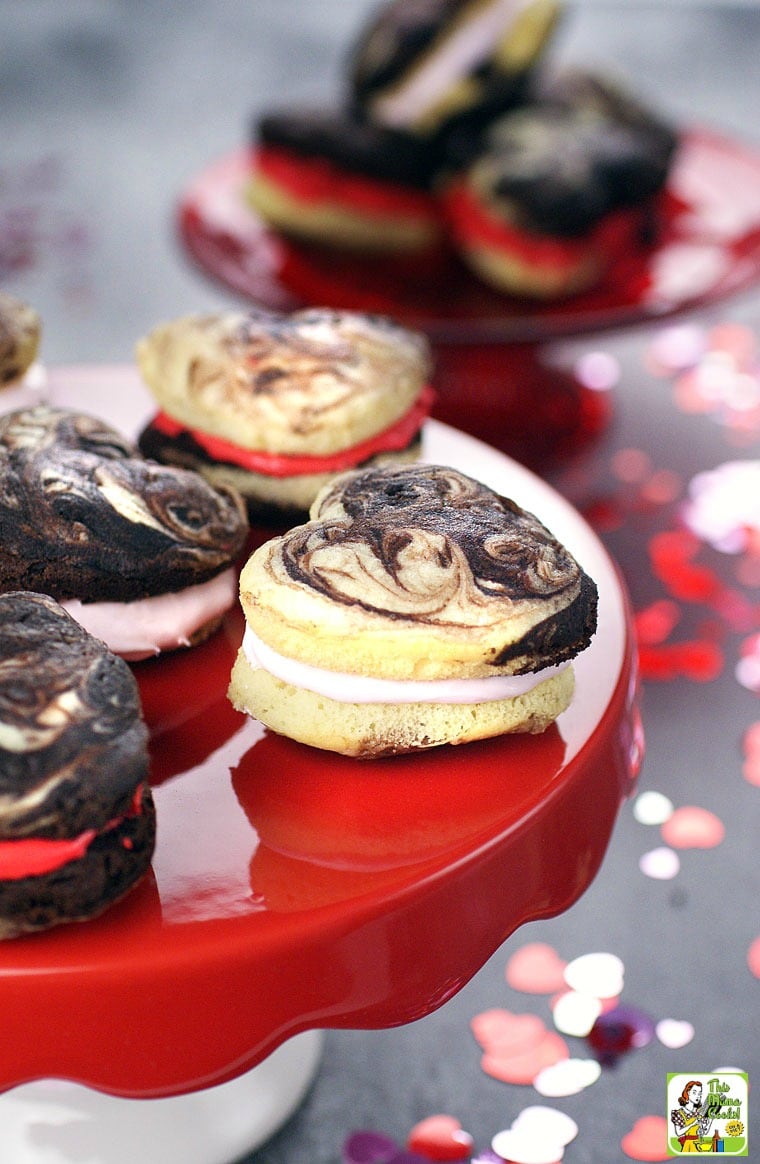
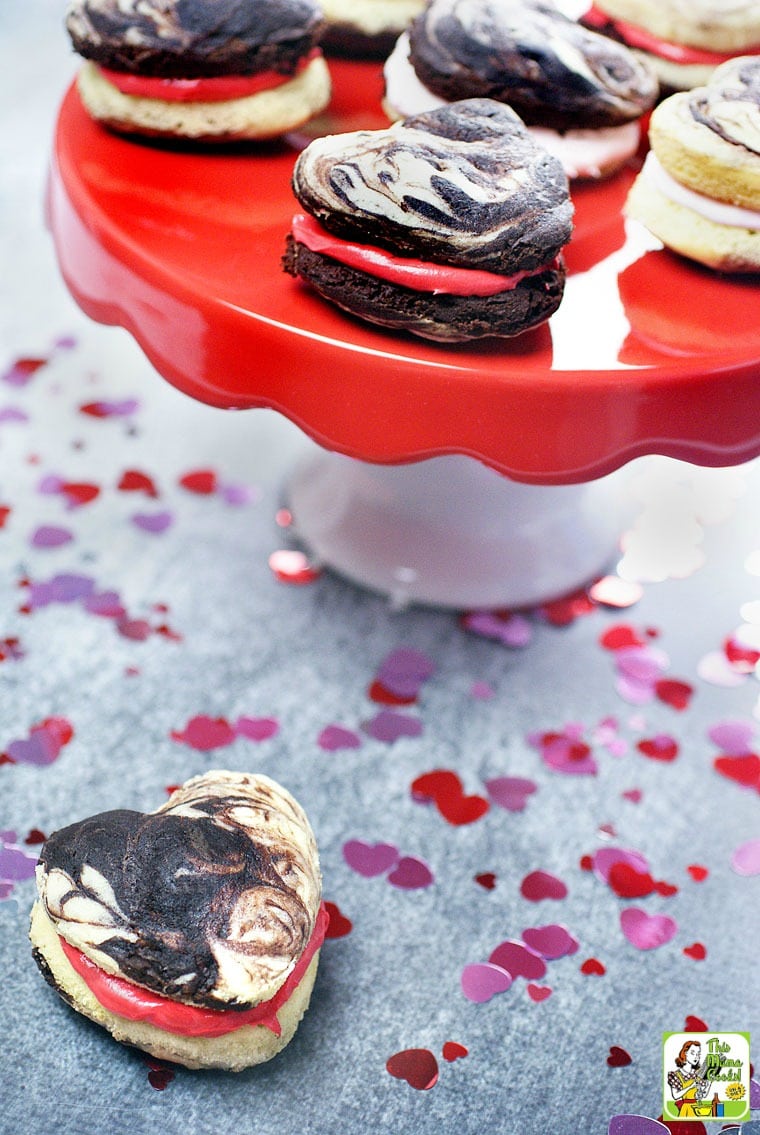
Whoopie pie pan: First, when I found a heart shaped whoopie pie pan at my local crafting store, I created this recipe.
Unfortunately, heart shaped whoopie pie pans are no longer made. You may be able to find used heart shaped ones on eBay or in thrift stores.
You can use also use a regular whoopie pie pan or partially fill a heart shaped muffin pan.
Electric stand mixer: to mix the batter and frosting.
Small batter spoon or small cookie scoop: to measure out the batter.
Toothpicks: to swirl the batter.
Offset spatula: for icing the whoopie pies.
How to make the cake mix whoopie pies
1. Preheat oven to 350 degrees F.
2. Combine cake mix with the buttery spread, eggs, and coconut milk in the bowl of your electric mixer. Mix on low until the ingredients are incorporated.
Then mix on high for one minute. Scrape down the sides of the bowl with a spatula. Then mix on high for one minute more.
3. Pour the mix into a large bowl.
4. Repeat with the yellow cake mix but leave the batter in the stand mixer bowl.
5. Using a small batter spoon or small cookie scoop, scoop 2 tablespoons worth of one flavor of batter into each pan cavity. Then spoon 1 teaspoon of the other batter flavor into each cavity.
6. Use a toothpick to swirl the batter flavors together and spread the batter evenly to the edges of the pan cavity. The cavity should be 2/3 full.
7. Place the pan in the oven and bake for 8-10 minutes or until the top of the whoopie cake springs back when touched.
8. Remove pan from oven and allow whoopie cakes to cool for 8 minutes before removing from pan.
9. Wash and dry the pan thoroughly. Repeat steps 5-8 (switching batter as “base flavor”) until all the batter is used up.
How to make the whoopie pie filling
1. As the last whoopie pies are baking, wash and completely dry the mixer bowl.
2. Empty one can of frosting into the mixer bowl. Add 1/2 of the marshmallow fluff. Whip contents on high with the paddle attachment until the filling is fluffy and the color is fully mixed.
3. Scoop frosting out into a mixing bowl.
4. Wash and completely dry the mixer bowl. Repeat step 2 with the second flavor of frosting and remaining marshmallow fluff. Leaving filling in mixer bowl.
For assembling the easy whoopie pies:
1. Using an offset icing spatula, gently spread a generous dollop of filling on the flat side of one cookie. (If you spread the filling around too much, as you would with cake frosting, it’ll just pick up crumbs and start looking messy.)
2. Place the flat side of a second cookie on the filling. Keep the whoopie pies as flat as possible even though the tops may be slightly uneven. If you stack them on their sides or at an angle, the top cookie may slide off.
3. Serve them up! Homemade whoopie pies are best eaten within a day or two. After that, they will get a bit stale.
Tips for swirling the whoopie pie batter
Don’t worry about your results. If you completely mix the two batters, the treats will still look and taste great after baking.
If you find swirling too hard after a few tries or takes too much extra time, make half the whoopie pies with yellow cake mix and half with chocolate cake mix.
Then fill with whatever flavor frosting and marshmallow cream you picked.

How to make whoopie pies gluten free and dairy free
Yes, these cake mix whoopie pies can be made both gluten free and dairy free. Here's how:
Gluten Free Cake Mixes: I checked the Betty Crocker website and their Gluten Free Devil's Food Cake Mix and Gluten Free Yellow Cake Mix are both dairy free.
However, if you have other favorite gluten free cake mixes, go ahead and use them instead. Use other flavors like chocolate or white cake mix.
Frostings: I also chose Betty Crocker frostings since they’re gluten free and you can easily find it at your local grocery store.
But always check the labels every time you purchase your supplies since ingredients can change.
For this post, I chose Funfetti Red Radiant Vanilla and Strawberry Marshmallow Betty Crocker frostings, which were both special seasonal flavors.
Use whatever gluten free frostings you want along with the container of marshmallow creme for the marshmallow filling.
Dairy free: To keep the whoopie pie recipe dairy free, I used a vegan butter spread and unsweetened coconut milk.
If you aren’t dairy free, you can use regular unsalted butter and milk.
Make whoopie pies for your favorite holidays
Bake up a batch of whoopie pies for any holiday season occasion!
Use yellow cake mix and green frosting for St. Patrick’s Day. Or red, white and blue frosting for Fourth of July.
If you can’t find colored frosting, use a Wilton Icing Color Set to change the color of white vanilla frosting.
I’ve used Wilton colors for years and love how well they work in frosting and baking.
The ideas for making easy cake mix whoopie pies are endless!
Cake Mix Whoopie Pies Recipe
This whoopie pie recipe from cake mix is fun to bake. You can easily make this whoopie pie recipe with cake mix gluten-free and dairy-free.
Ingredients
For the gluten-free chocolate cake batter:
- 1 box Betty Crocker Gluten Free Devil's Food Cake Mix
- 6 tablespoons dairy-free or vegan buttery spread, softened
- 2 eggs
- 5 ounces coconut milk
For the gluten-free vanilla cake batter:
- 1 box Betty Crocker Gluten Free Yellow Cake Mix
- 6 tablespoons dairy-free or vegan buttery spread
- 2 eggs
- 5 ounces coconut milk
For the whoopie pie filling:
- 2 cans Betty Crocker gluten-free frostings, flavors of choice
- 1 7.5-ounce container marshmallow fluff, divided
Instructions
For the whoopie pies:
- Preheat oven to 350 degrees F.
- Place the devil’s food cake mix, buttery spread, eggs, and coconut milk into the bowl of your stand mixer. Mix on low until the ingredients are incorporated. Then mix on high for one minute. Scrape down the sides of the bowl with a spatula. Then mix on high for one minute more.
- Pour the mix into a medium bowl.
- Repeat with the yellow cake mix but leave the batter in the stand mixer bowl.
- Using a small batter spoon or small ice cream scoop, scoop 2 tablespoons worth of one flavor of batter into each pan cavity. Then spoon 1 teaspoon of the other batter flavor into each cavity.
- Use a toothpick to swirl the batter flavors together and spread the batter evenly to the edges of the pan cavity. The cavity should be 2/3 full.
- Place the pan in the oven and bake for 8-10 minutes or until the top of the whoopie cake springs back when touched.
- Remove pan from oven and allow whoopie cakes to cool for 8 minutes before removing from pan.
- Wash and dry the pan thoroughly. Repeat steps 5-8 (switching batter as “base flavor”) until all the batter is used up.
For the whoopie pie filling:
- As the last whoopie pies are baking, wash and completely dry the mixer bowl.
- Empty one can of frosting into the mixer bowl. Add 1/2 of the marshmallow fluff. Whip contents on high with the paddle attachment until the filling is fluffy and the color is fully mixed.
- Scoop frosting out into a mixing bowl.
- Wash and completely dry the mixer bowl. Repeat step 2 with the second flavor of frosting and remaining marshmallow fluff. Leaving filling in mixer bowl.
For assembling the easy whoopie pies:
- Using an offset icing spatula, gently spread a generous dollop of filling on the flat side of one cookie. (If you spread the filling around too much, as you would with cake frosting, it’ll just pick up crumbs and start looking messy.)
- Place the flat side of a second cookie on the filling. Keep the whoopie pies as flat as possible even though the tops may be slightly uneven. If you stack them on their sides or at an angle, the top cookie may slide off.
- Serve them up! Easy Whoopie Pies are best eaten within a day or two. After that, they will get a bit stale.
Recommended Products
As an Amazon Associate Affiliate and member of other affiliate programs, I earn from qualifying purchases.


Nutrition Information:
Yield:
48Serving Size:
1 whoopie pieAmount Per Serving: Calories: 122Total Fat: 3gSaturated Fat: 2gTrans Fat: 0gUnsaturated Fat: 1gCholesterol: 16mgSodium: 175mgCarbohydrates: 23gFiber: 0gSugar: 13gProtein: 2g
Nutritional information is automatically calculated per the ingredients list. Serving size may not be accurate. Please double-check with your preferred nutritional app for the most accurate information.
Originally published on February 8, 2016. Updated with new pictures and information.
Wow, these look so good! I cannot believe they’re gluten-free! Thanks for sharing this recipe, it looks super straightforward. While it’s not Valentine’s Day season anymore, I might have to give these a try.